Sunday, March 1, 2015

1/6 custom JOY RIDE 3 "Rusty Nail"

Hey guys!
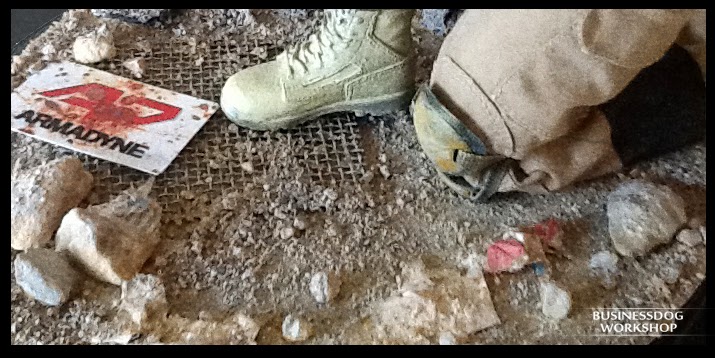
Here is my latest custom/kitbash, yet another Horror movie character: Rusty Nail.
I had previously made this character a few months back, based off the 2008 "Joy Ride 2: Dead Ahead" Rusty Nail.

This is the Rusty Nail based off the newly released Joy Ride 3, where he is portrayed by yet another actor (again!) and has a different look to him.


I decided to go with this character because I already had most of the parts/clothing lying around. All I needed was the headsculpt, shoes and a white under shirt. Pretty simple again, but that's how I like them :)
Plus I think my shelf needs some more color- there are a lot of khaki's and browns up there already!


Credit for our angry, truck rampaging friend's head sculpt goes to Peter Miles for taking on this character for me again and recreating a brilliant likeness to the actor right down to the angry expression!


The biggest challenge was probably getting his body shape right. He's somewhat of a big guy (understatement!) at 6 ft 5 (and having played Jason Voorhees in "Freddy vs Jason") so two thin layers of clothing (shirt and t-shirt) wasn't nearly enough to bulk out my ACI 'Christian' body.


 So I used strips of fabric cut off an old jacket and wrapped it around his waist, biceps, thighs, cut out a little vest to go underneath the clothing and some makeshift shoulder pads to puff him up much more!


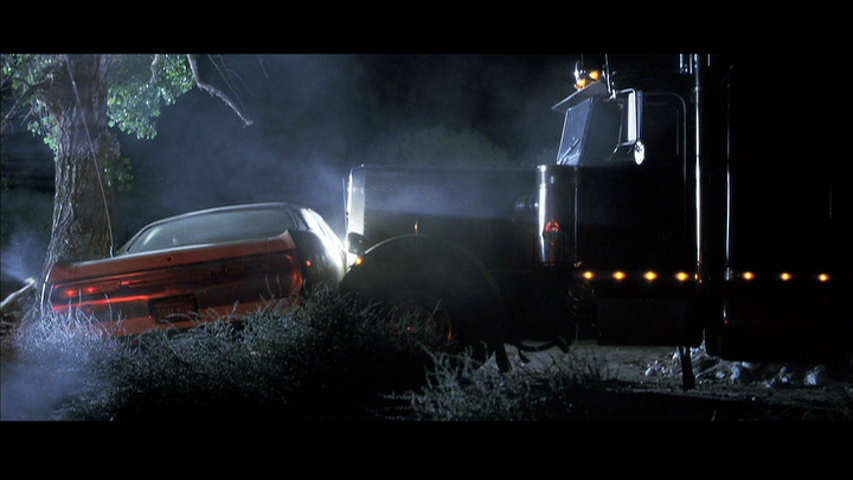
And my 1/16 Monogram Peterbilt 359 model kit which sits on my desk.
Just because :)


Tuesday, December 30, 2014

1/6 custom "WOLF CREEK" Mick Taylor Figure

Hey y'all!

I'm happy to share my latest custom figure and latest addition to my "horror" set.
This time the very terrifying and disturbing Mick Taylor from the Australian horror film: "Wolf Creek" (2005) and "Wolf Creek 2" (2013)


 This is a figure I have been thinking about making for a while but wasn't too sure and was kind of on the fence for ages.
But I had just recently watched the second movie, and decided... Hell yeah! This has to be done!
He downright terrified me in the 1st movie, but I liked his character more in the 2nd. A lot more humorous hehe.


The beautiful headsculpt (and hat) was once again another custom creation commissioned by me.

There are a couple of inaccuracies with some of the accessories, like the knife and rifle, but they will have to do for now!


Saturday, March 8, 2014

1/6 Custom "Joy Ride" RUSTY NAIL

Art by me.

For my latest custom figure, the very angry truck driver and antagonist from the movie(s) "Joy Ride", known only by his CB Radio handle: Rusty Nail.


It's an oldish (2001) Horror/Thriller movie. In some countries it's called "Road Kill", (which is the title I've always known it to be), starring Paul Walker and Steve Zahn as two brothers who play a prank on a random truck driver over the radio, and it goes a little too far.


Originally, he was completely personified by his black rig (a la, "Duel") and being just a voice over the CB radio terrorizing them. But in the later 2008 sequel, "Joy Ride 2: Dead Ahead", the writers decided to take him out of the truck more and turn him into a hulking, 6'6 "I Know What You Did Last Summer"-type killer that just kills for the hell of it. And usually looks really cool while he's at it lol.


I'll admit I'm a bit of a B-Horror junkie, and I quite liked the new direction they took him this time around.

So that's the look I decided to go with. Just trying to recreate the new actor's portrayal and style of this character (Mark Gibbon). The outfit is pretty simple and straight forward too.

Once again, an amazingly accurate and kickass head sculpt done by Peter made all this possible. I adore all the work Peter has done for me over the last few months, but this has to be my personal favorite he has done so far. It's just so unique and true to the character right down to the little smoke!


Reference sketches by me.


FINAL PRODUCT


Wednesday, February 12, 2014

1/6th scale Display Dioramma: "Earth 2154"


I was out jogging one day, and came across this funny round thing on the side of the road. It was snapped open on one side, and dirt was encrusted around the edges. I had no idea what the hell it was, but it looked interesting. So I picked it up and carried it home. As you do. lol

It had some numbers and letters embossed into the side and I looked it up. Turned out to just be a chain guard off a push bike. Awesome.


I had an idea that with a little work, it would make a nice "border" for a display base diorama I had planned to create.


I repaired the broken edge and cut out a couple of circles out cardboard to sit over the top, forming a neat little base!!

The rest of the diorama is a mix of PVA glue, dirt, sand rock, plaster, Styrofoam, aquarium mesh, acryllic [paint] and chalk dust! Awesome!


Sunday, February 9, 2014

1/6 Custom Figure: Drake ("ELYSIUM")


Here is my next custom. Yet another character from Neill Blomkamps movie "Elysium". This is one of Kruger's South African mercenary buddies; Drake.


I decided to go ahead with this character because I think the costume design has a really nice aesthetic to it and is quite unique. There's a lot of hidden little details in there.

Head sculpt face.
Testing the first accessories and posing capabilities.
My biggest concern was building the vest as accurately as I could. It's similar to Kruger's vest and I planned to build it the same way, but a bit more flat and simplistic. Last time when I made Kruger, my computer was away for repairs (it literally fried), and I wasn't able to print any proper reference pictures or do any planning. It was all freehand (so a little bit wobbly in some places). 

This time, I was able to map out the basic shapes and pieces of the vest, print it to scale and use as a template for when I cut the foam pieces out. I found a great reference photo of the vest from an eBay prop/costume sale!


Once I had that all planned out, it was just a matter of building up, starting with the camo jacket, cargo pants, repainting the knee/elbow pads etc.


For the right hand, I simply chopped the finger off the molded plastic glove and replaced it with a non-gloved finger.


The radio headset was made of bits and pieces of loose head gear, scraps of camo pattern clothing, belts (lol!) and random buckles I could find off anything that didn't need it.


Vest beginnings.


FINAL PRODUCT